
Why this lesson matters
Path of Exile 2 asks you to manage attributes, hit pools, resistances, and a separate Spirit budget for persistent skills. Getting these wrong feels like the game is unfair; getting them right makes campaign and early maps much more stable.
Primary attributes
Three attributes gate gear and give innate bonuses:
- Strength — helps meet Strength requirements; contributes to maximum Life and melee physical damage scaling.
- Dexterity — helps meet Dexterity requirements; contributes to Evasion and Accuracy.
- Intelligence — helps meet Intelligence requirements; contributes to maximum Mana and Energy Shield.
Tip: early on, pick gear you can equip. Attribute shortfalls lock you out of upgrades more often than missing a few damage nodes.
Life, energy shield, and other defences
These four pieces aren't just a list of options — they resolve in a specific order on every hit, and knowing that order is what actually explains why a given hit killed you:
- Evasion is checked first, before any damage is calculated — a successful evade means the attack or projectile lands for zero damage. (It doesn't apply to Spells.)
- Armour applies next, during damage calculation, and only reduces physical damage from hits — it does nothing against elemental or chaos damage.
- Whatever damage survives evasion and armour then hits your resource pools in sequence: Energy Shield (ES) depletes before Life, not alongside it. Chaos damage is an exception worth knowing — it doesn't skip ES, it just drains it at double the normal rate before any remainder hits Life. Bleed and Poison are a different exception: they bypass ES entirely and hit Life directly, no matter how much ES you're carrying.
- Life is the last line — reaching 0 is death.
Armour and Evasion aren't alternatives you pick one of — they act at different stages (avoid the hit vs. reduce it) and stack together on the same character, though gear itemization tends to push a build toward leaning on one primarily.
You do not need a perfect endgame defence layering plan in Act 1 — you do need enough Life and resistances to stop dying to trash packs.
Resistances
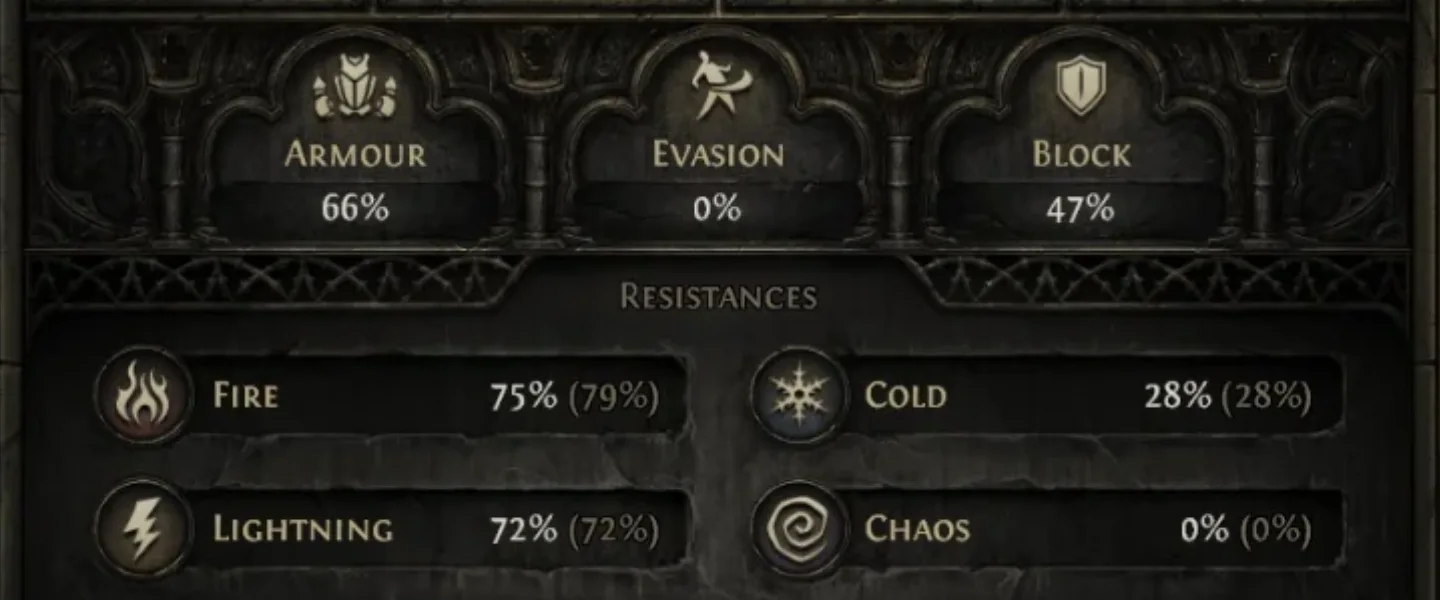
Elemental resistances (Fire, Cold, Lightning) share a 75% soft cap by default (hard ceiling around 90% via maximum-resistance modifiers), starting at 0% for a fresh character. Chaos resistance shares the same 75%/90% cap structure but is tracked separately and can only be raised through gear, not passive tree nodes — it also starts at 0% for a fresh character.
Campaign and endgame penalties
As you progress, the game applies a permanent elemental resistance penalty. Patch 0.5 ("Return of the Ancients") replaced Cruel difficulty entirely with the Interlude structure — the table below reflects that current structure (Act 4, Interlude) rather than the older Normal/Cruel framing:
| Progression | Elemental penalty |
|---|---|
| End of Act 2 | −10% |
| End of Act 3 | −20% |
| End of Act 4 (end of campaign) | −30% |
| Interlude (area level ~54–59) | −40% |
| Interlude (area level ~60–64) | −50% |
| Endgame / maps (area level 65+) | −60% |
Chaos resistance is confirmed exempt from this penalty — the raw number you need to *cap* it never climbs with acts the way elemental resistance does. You still don't need to cap it: 0% is fine through the campaign; once you're mapping, ~40% is the reference point top players use (gear-only, so it competes with other affixes — see Survival & resistances: why you die).
How much resistance do you need?
To sit at the 75% cap you need raw resistance equal to 75% + current penalty. Following the table above:
- At −40% penalty (early Interlude) → 115% Fire/Cold/Lightning needed on your sheet before the penalty.
- At −60% penalty (endgame mapping) → 135% raw elemental resistance needed to stay capped.
Permanent boss resistance rewards get you there. Three specific campaign bosses each grant a permanent resistance boost, totaling +20% across all three elements: Beira of the Rotten Pack (Clearfell, Act 1) grants +10% Cold, Sisters of Garukhan Shrine (Spires of Deshar, Act 2) grants +10% Lightning, and Blackjaw the Remnant (Jiquani's Machinarium, Act 3) grants +10% Fire. These are just ordinary permanent resistance on your sheet, the same as an affix on a ring — the cap is the fixed target and the checkpoint penalty is a fixed reduction; collecting these rewards simply moves you closer to the raw-resistance number above, same as any other gear upgrade.
During the campaign, staying positive and climbing toward cap matters more than perfect min-max. Cap elemental resistances before you lean on high-tier Waystones — map content assumes you are near cap.
For why a capped character still dies — Energy Shield ordering, Bleed and Poison, ailments, Block, and Stun vs Freeze — see Survival & resistances: why you die.
Spirit
Persistent effects (auras, many permanent minions, heralds, and similar reservations) use Spirit, not Mana reservation like Path of Exile 1.
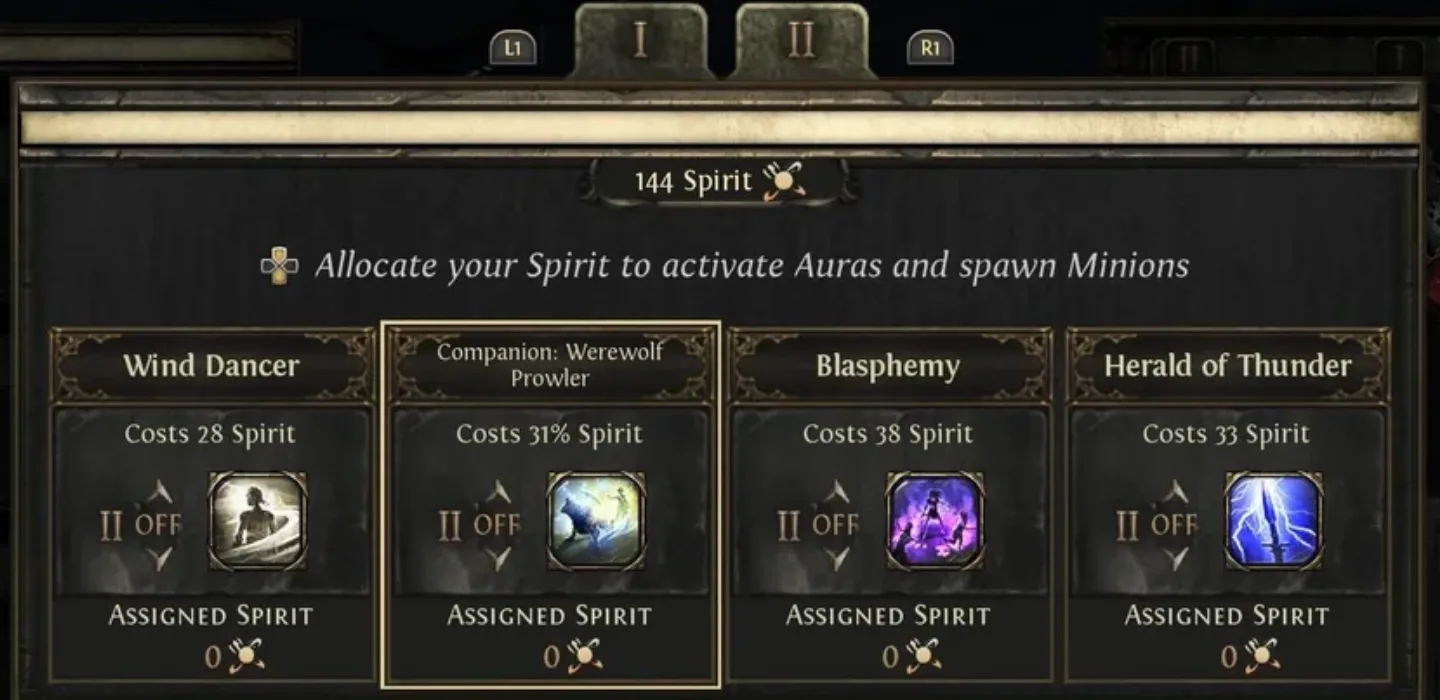
- You gain a fixed campaign total of +100 Maximum Spirit from three story quest rewards: "The King in the Mists" in Freythorn (Act 1, +30), "Ignagduk, the Bog Witch" in The Azak Bog (Act 3, +30), and Lythara, the Wayward Spear in the Mount Kriar Interlude (Act 5, +40) — do not leave these rewards uncollected.
- Beyond that, Spirit comes from gear (notably sceptres, and `+# to Spirit` on body armour / amulets), some socketable rewards, and uniques.
If a persistent skill will not turn on, check your Spirit budget before blaming the gem.
Dodge roll and weapon swap
- Dodge roll (default Space) is a core defence. It grants brief invulnerability against many strikes and projectiles; area effects are not fully avoided the same way. Treat roll as a practiced habit, not a math problem.
- Weapon / skill sets let you bind different skills (and related passive allocation) to swap sets. Learn the swap key early; many builds lean on two setups.
- Bosses also have a Heavy Stun / stagger bar separate from health — Boss stagger, Heavy Stun, and crowd control covers Light vs Heavy Stun, why Freeze and Electrocute are different meters, and why melee/physical builds stagger faster.
Ascendancy trials
You unlock an Ascendancy class and earn points through Ascension trials, up to 8 points total, in 4 tiers of 2:
- Trial of the Sekhemas — first reachable in Act 2 (Honour / Sanctum-like structure; opened with a Barya, dropped by Balbala the Traitor).
- Trial of Chaos — first reachable in Act 3 (Ultimatum-like rounds; opened with a Chimeral Inscribed Ultimatum, dropped by Xyclucian the Chimera).
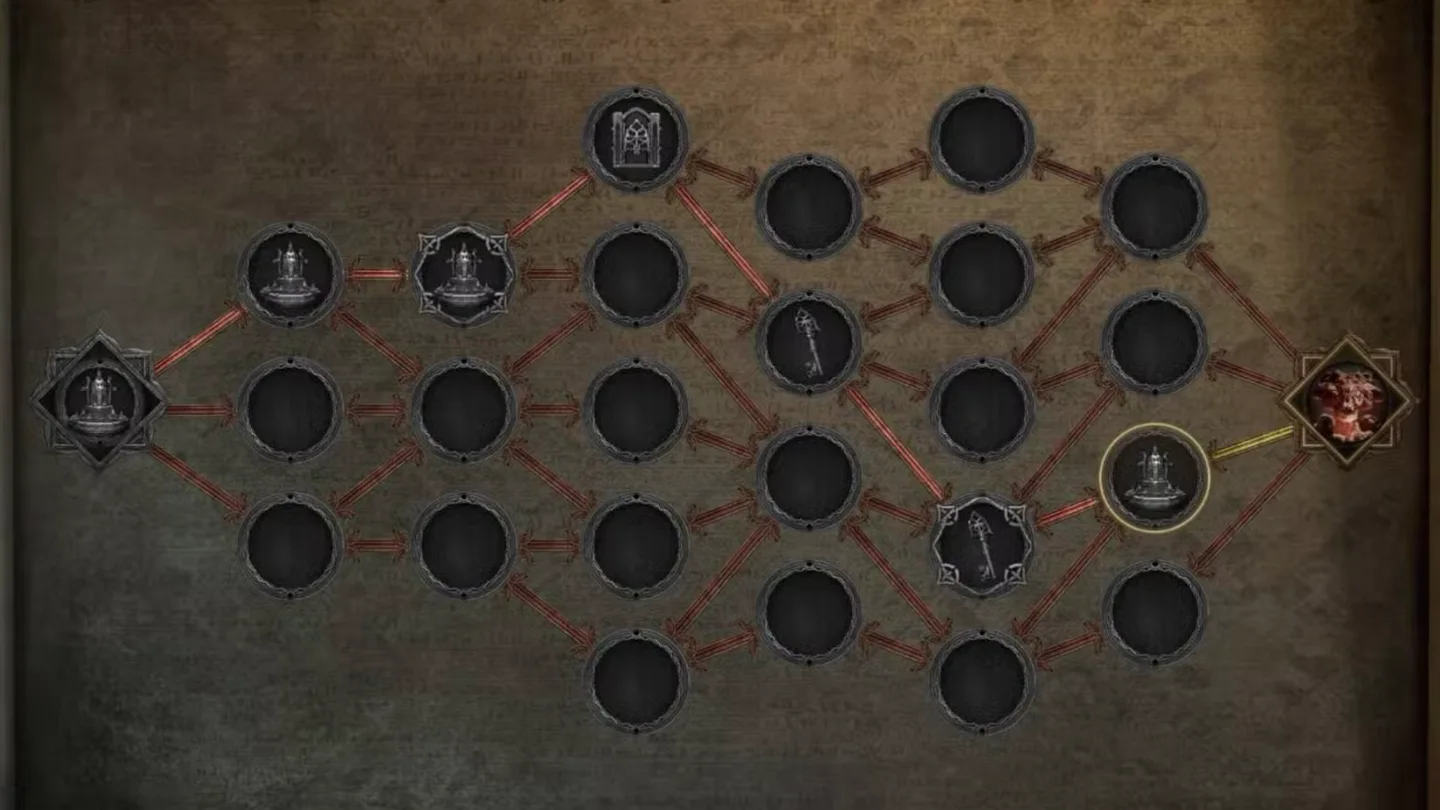
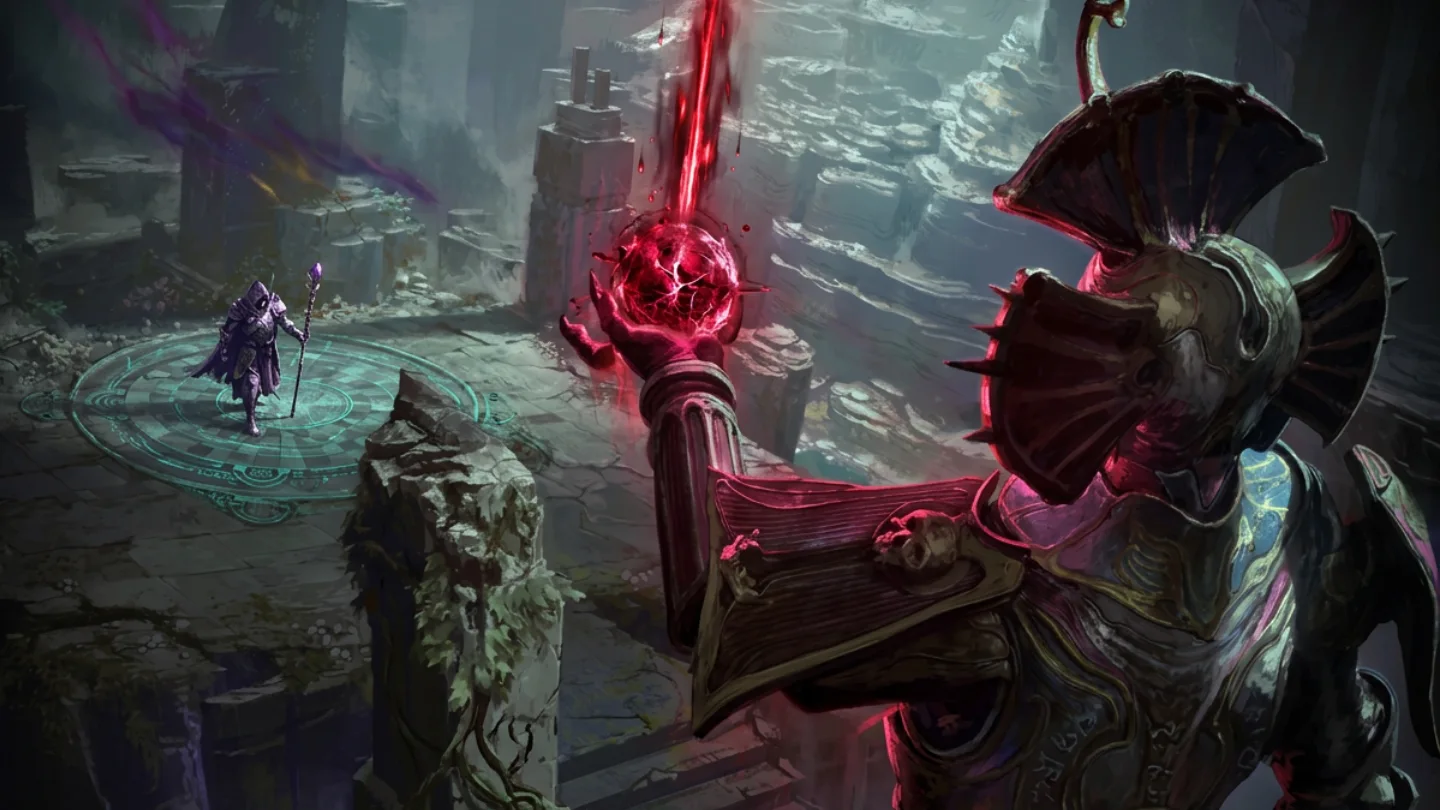
The two trials aren't sequential steps that build on each other — they're two parallel doors to the same shared point track. Your first clear of *either* trial (not both) grants your first 2 points and unlocks your Ascendancy class choice immediately — you don't need to run both before picking a sub-class. From there, each further tier of 2 points (tiers 2 through 4, up to the full 8) can be earned by completing a harder version of either trial — most players naturally do Sekhemas in Act 2 then Chaos in Act 3 simply because of leveling pace, but that order isn't required, and re-running either trial at higher difficulty (Level 60+, then Level 75+) keeps feeding the same point total rather than unlocking anything trial-specific.
Campaign quests give a natural first path through both. A third trial for Act 4 is still not the live campaign path as of Early Access 0.5.x — Maxroll and community trackers still treat Act 4's dedicated trial as unimplemented. Separately, a "Trial of Madness" mechanic exists in endgame Delirium content — don't confuse it with the planned Act 4 trial, since it grants loot/currency rather than Ascendancy points.
Practical tips
- Prefer life + resistances on early rares over pure damage when you are dying.
- Recheck resistances after each act / Interlude penalty bump, using the table above.
- Consume Spirit quest items as soon as you find them.
- Practice rolling through telegraphed attacks, not only away from them.
- Cap elemental resists before serious mapping; overcap a little if you expect curses or map mods that lower resists.
- 0% Chaos Resistance is fine in the campaign; aim for ~40% once you're mapping.
- Don't wait to "save up" trial completions before picking your Ascendancy — the first trial you clear, either one, unlocks your class choice right away.
- If you're stacking Energy Shield, plan a separate answer to Bleed and Poison specifically — both bypass ES entirely and hit Life underneath it.
Sources: Maxroll — Defence Guide · LootLore — Chaos Resistance Guide · Maxroll — Permanent Stats From The Campaign (0.5.4) · Maxroll — Trials of Ascendancy · Mobalytics — Defences Basics · Mobalytics — Evasion · Mobalytics — Armour · Mobalytics — Energy Shield · Mobalytics — Resistances · Mobalytics — How to Ascend · ConquestCapped — Ascendancy Points Guide · PoE2 Wiki — Resistance · Boostmatch — 0.5 Leveling Guide · Boostmatch — 0.5 Trials Guide · Spirit campaign totals cross-checked via Game8 / Twinfinite guides